
Introduction
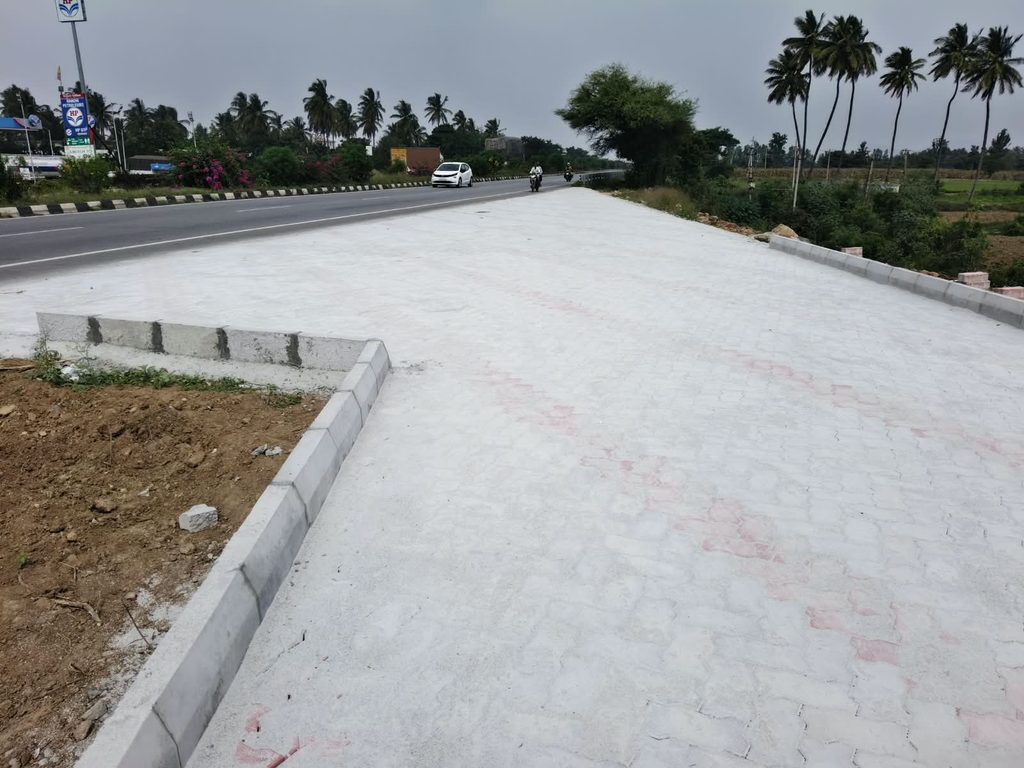
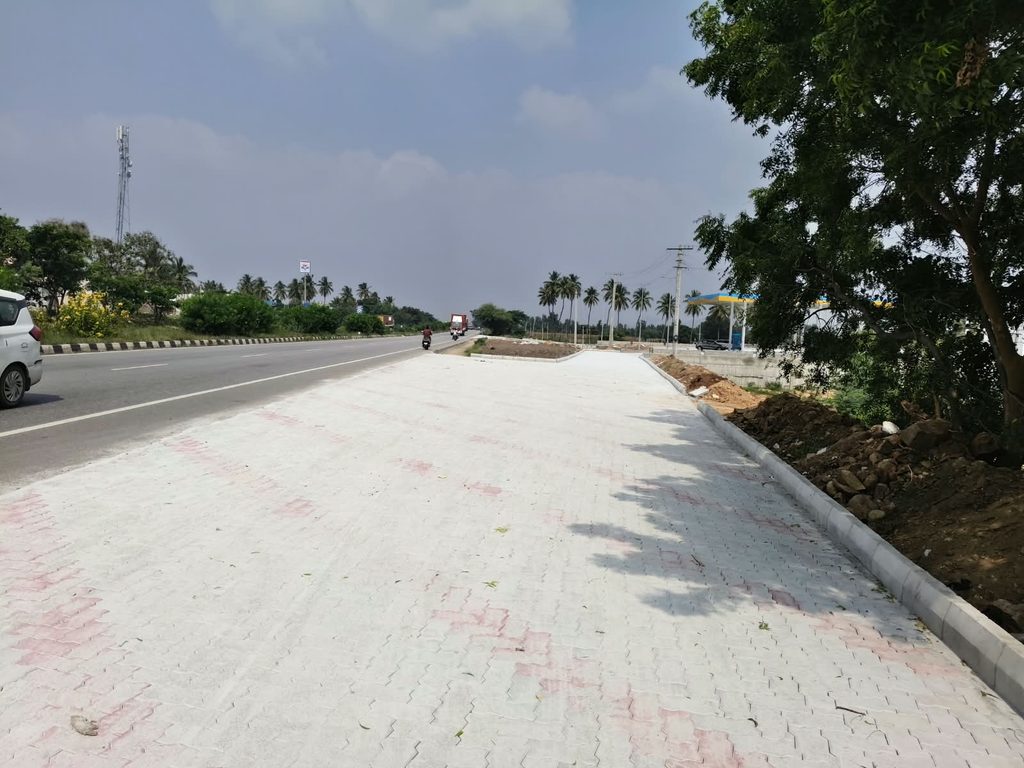
Installation of paver blocks are very important in road, footpath, car park, driveway, pathways and landscaping works. Installation of paver blocks will ensure that you have a strong, stable and good looking pavement.
If the paver blocks are not installed correctly, such as incorrect bedding sand levels, poor workmanship, lack of compaction and incorrect laying patterns, there may be issues with the surface, settlement and joint failure.
In this article we will look at the full procedure for installing paver blocks including materials needed, equipment, quality control and common errors. This should be known by any civil engineers or site supervisors.
Materials
The following materials will be generally required.
Concrete interlocking blocks
Granular Sub-Base (GSB) or as required
Wet Mix Macadam (WMM) or as required
Bedding sand
Joint sand
Kerb stones/edge restraints
Geotextile or as shown in design.
All materials should be supplied to the correct specification as shown in the approved drawings & specifications.
Equipment
Measuring Tape
Spirit Level
Auto Levels
String Line
Rubber Mallet
Plate Compactor with appropriate protective mat
Shovel & Rake
Cutting Machine
Straight Edge
Wheelbarrow
Procedure
- Site preparation
Ensure the area is clean and all unnecessary items have been removed.
Check the width, length, alignment and final levels are correct as per the approved drawings.
- Excavation
Excavate down to the required depth of the current soil.
The depth will depend on the design, expected load/traffic, soil type and thickness of the designed layers.
Remove any weak or unsuitable soil and replace with approved material.
- Subgrade
Ensure the subgrade is to the correct level & slope.
Ensure the subgrade has been moistened to the correct level and compacted with the correct equipment.
Perform Field Density Tests (FDT) or any other as required.
- GSB
Lay down the approved GSB material evenly.
Ensure it is the correct thickness, moisture content and gradient.
Compact with the correct equipment and check final levels.
- Base Course
If required lay down the WMM or approved base course material.
Ensure it is to the correct thickness and has a correct camber/cross slope.
Check it has been compacted and to the correct levels.
- Edge restraints
Install kerb stones or appropriate edge restraints around the edge of your pavement.
Check they are aligned, level and stable.
Having edge restraints will ensure the paver blocks don’t spread during use.
- Bedding Sand
Spread an even layer of clean & suitable bedding sand.
Ensure it is the correct thickness as per the project specification.
Use screed rails & straight edges to make it even.
DO NOT compact the bedding sand unless specifically stated in the approved method of construction.
- Paver Blocks
Lay the paver blocks starting from a straight line or edge.
Lay the blocks to the approved pattern.
Ensure they are evenly spaced with even joints and that the bedding sand isn’t disturbed.
Use a string line to ensure they are straight.
- Cutting
Carefully cut the paver blocks close to the kerbs, corners, drainage and edges.
Avoid cutting the blocks too small or unstable. Follow the approved details & workmanship.
- Joints
Sprinkle some suitable dry jointing sand onto the paver surface.
Brush into the joints.
Use the correct jointing material as per the project.
- Compaction
Compact the paver blocks using the correct plate compactor with a protective mat.
Follow the manufacturer guidance & project specification.
Top up the joints with sand if required. Continue to do this until the joints are adequately filled.
- Final Check
Check the final pavement has the following:
Even surface
Even joints
Correct interlocking pattern
Correct slope
No loose/damaged paver blocks
Even settlement
Correct edge restraints
Fully filled joints
Ensure all the above issues are corrected.
Quality Control Checklist
Sr No. Item
1 Site cleaned & excavated
2 Subgrade to level
3 Subgrade compacted
4 GSB thickness & compacted
5 Base course to level & compacted
6 Edge restraints aligned
7 Bedding sand thickness
8 Paver block thickness & quality
9 Paver blocks laid in correct pattern & aligned
10 Joints filled
11 Final compaction
12 Final slope & level
Common errors
Installing paver blocks onto a poorly compacted subgrade.
Incorrect bedding sand levels.
Not providing correct slope.
Incorrect joint spacing.
No edge restraints.
Damaged/damaged paver blocks.
Incorrect joint filling.
Incorrect compactor used.
Site Engineer Responsibilities
Ensure drawings & specifications are approved.
Check materials are to the correct quality.
Check all layers of the pavement.
Ensure to the correct level & slope.
Check compaction tests have been performed.
Check workmanship & joints.
Keep a record of all inspections & daily progress reports.
FAQs
Q1: What is bedding sand used for?
Bedding sand provides a stable & even support to the paver blocks. It allows for slight variation in the thickness of the blocks.
Q2: Why do we use edge restraints?
Edge restraints stop the paver blocks from moving sideways.
Q3: Why do we fill joints?
Jointing sand helps with the interlocking of the blocks. This makes the pavement more stable.
Q4: Do we need to compact?
Yes. It is usually required to use the correct final compaction method.
Q5: Why do we provide slope?
Slope helps water run off the pavement.
Conclusion
Paver blocks should be planned correctly, materials chosen, subgrade prepared, compacted, bedding sand prepared, laid and jointed.
As a civil engineer you should inspect all stages to ensure the pavement is to the correct quality, alignment, levels & drainage.
Remember a good quality paver block is not only from the quality of the blocks but also the quality of the base, compaction, edge restraints and workmanship.